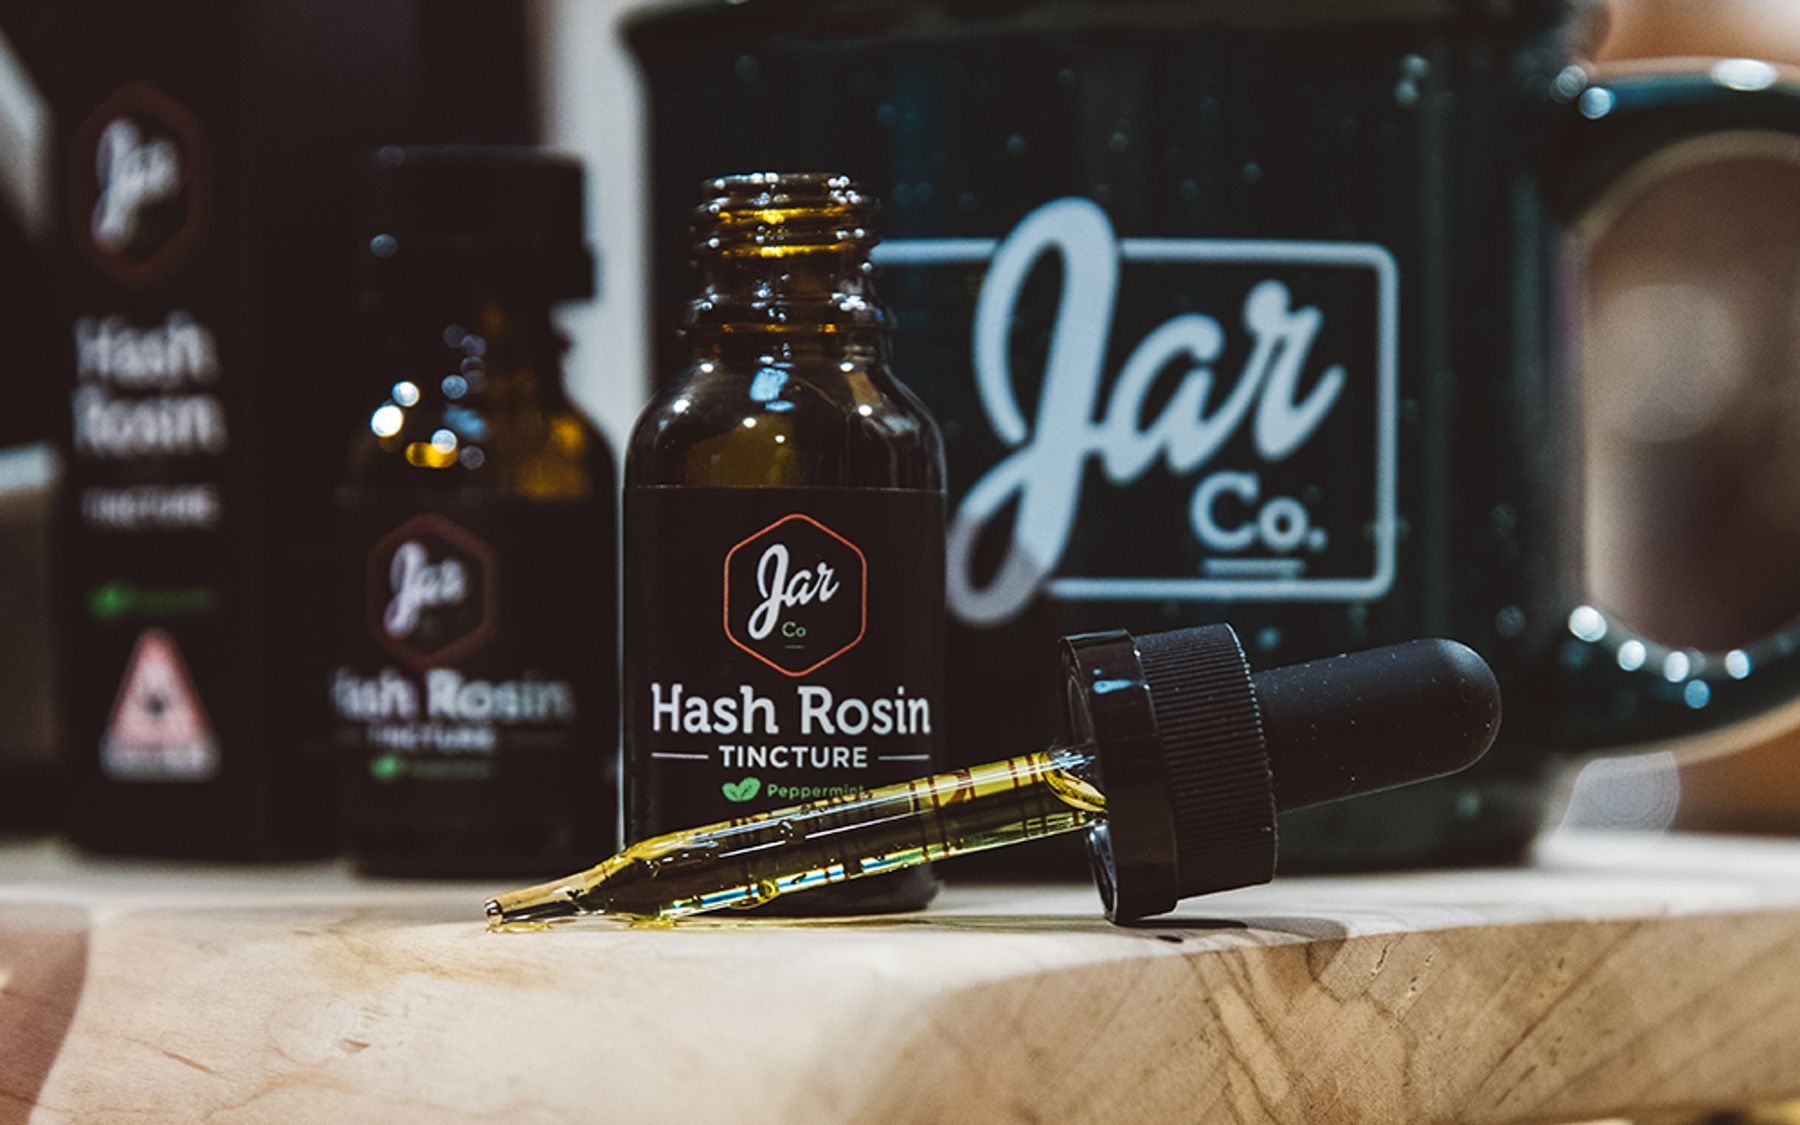
Joint consumer, connoisseur and JAR’s very own budtender, Evan Thorne, breaks down joint-rolling into 10 easy to follow steps (with pictures)!
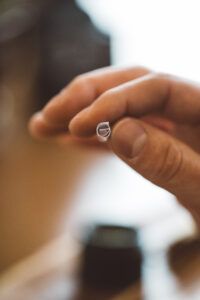
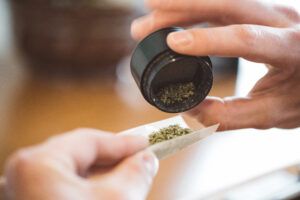
Grind your material. Rolling works best with quality flower that isn’t too dry, make sure you choose a flower that has a bit of stickiness to it. You can roll with drier flower, but it might be a little more difficult.

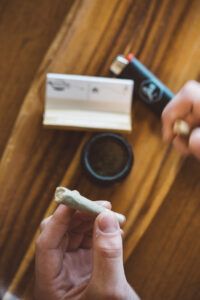
Prepare your paper and filter. Fold the filter with the slogan facing you, take the end that has the arrow point and fold it just at the tip of the arrow, folding away from you. Once there is a good crease, continue rolling the filter around the single crease you’ve made. The paper will already have a fold in it, but let’s add one more. Hold the paper like it came from the pack and now pull the front down and expose the gum line entirely. Fold the paper there and you should have a nice trough for your filter and material to sit in. Plop your filter into your paper and you’re ready to start rolling!
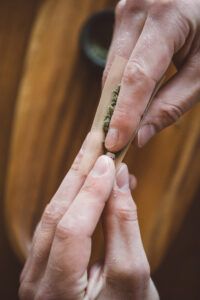
Hold the paper and filter together with the gum line facing you and start adding material in beginning on the side with the filter. Spread the flower evenly. You can add more material at the end of the joint if you want to give it more of a cone shape.
Once your material is all in, take your finger and lightly pack down the flower. This will help keep the flower together and will provide you with some stability during the roll.
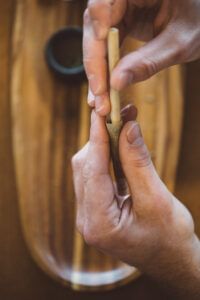
Next take both sides of the paper and begin rolling. It’s not always intuitive but practice makes perfect, and I believe in you! Once you have a nice core of flower rolled, not too tight, you can begin tucking the paper in.
Start at the end where the filter is and begin the tuck. Once the first part of the tuck is in the rest usually follows along but you may have to work with it a little bit. Hold the joint by the filter where you have already tucked the paper in and begin rolling and shifting the paper as necessary. This is usually where things can go wrong, and you may have to try a few times but as you curl and roll, you’ll see it start to come together.
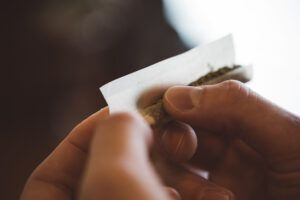
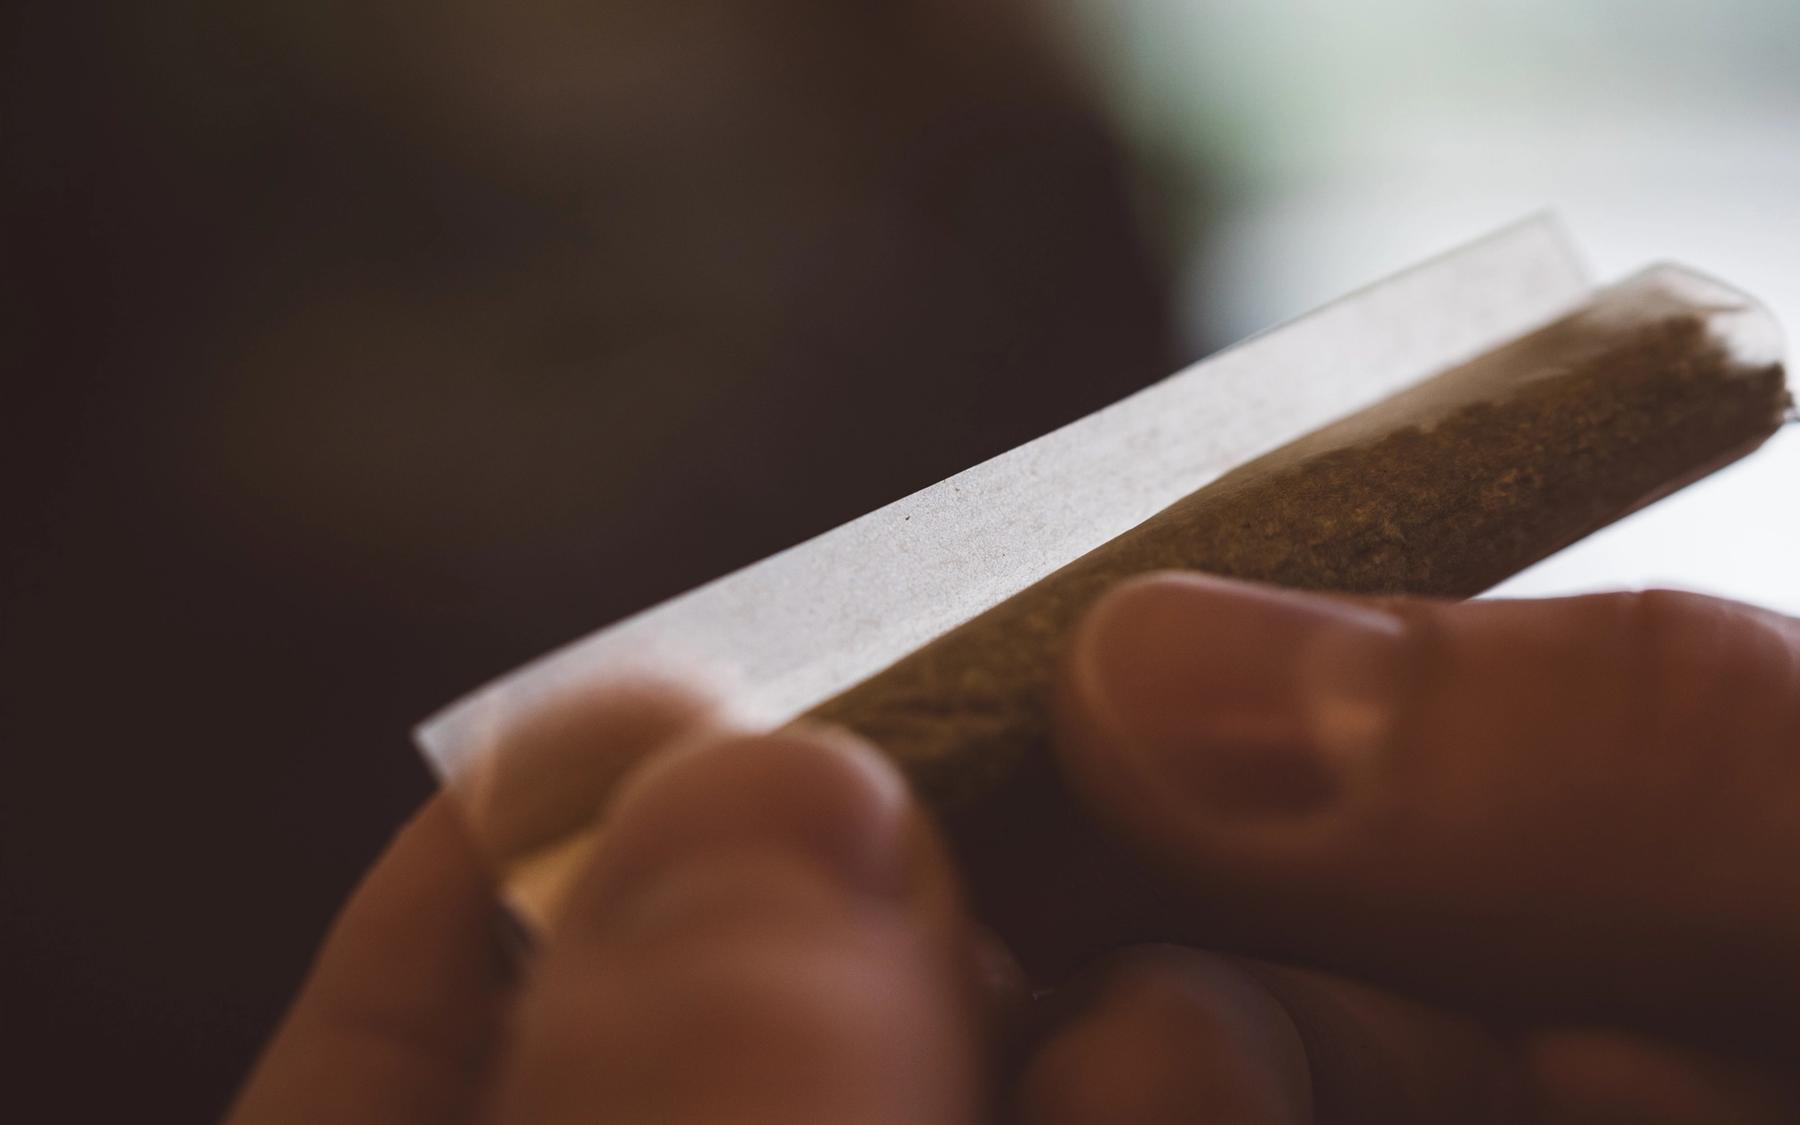
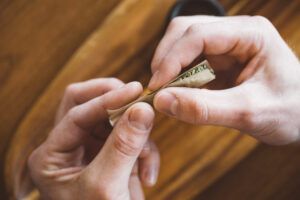
Now that you have your roll almost done, it’s time to lick it and stick it. As you roll, the gum line will stay exposed and when you’re ready you can wet the gumline and stick it to the paper.

Once your paper is stuck you should have something resembling a joint! Now let’s clean it up. Grab a packing tool like the flat end of a pen and gently push the material down into the joint leaving a small bit of paper empty at the top. You can tap or shake your joint to get a more even pack, but this can also cause clogging if it becomes too compressed. You may also lose material out the back end if it is rolled too loosely.
With the last bit of paper on the end, fold it down with your packing tool so the end is flat and blunt.
Congratulations! You now have an awesome joint that you rolled yourself, good job! Time to spark that thing up and relax, you worked for it!